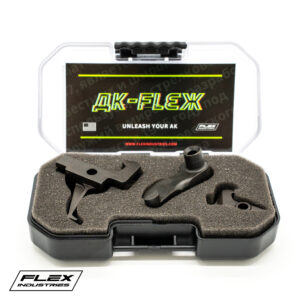
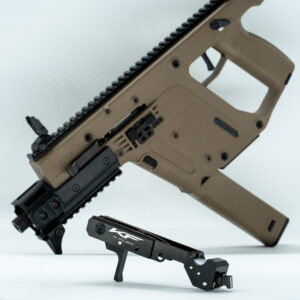
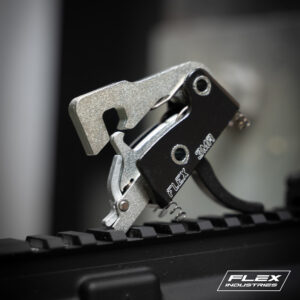
Installing Assisted Reset Trigger: Tools and Tips You Need
Installing an assisted reset trigger can greatly improve responsiveness and overall performance. However, a proper assisted reset trigger installation requires the right tools and a careful approach. With correct preparation, any trigger system installation becomes much smoother and more efficient.
Before you begin, always ensure your system is completely safe and unloaded. This is the most important step because it prevents accidents and allows you to work with confidence. Next, set up a clean and well-lit workspace. Good lighting helps you see small components clearly, while an organized area prevents parts from getting lost.
For a successful installation, follow a reliable trigger installation guide and prepare a few essential tools. These typically include a basic screwdriver set, a punch tool (if required), a cleaning brush, and a light lubricant. Having everything ready before you start saves time and reduces mistakes during the process.
Once your tools are ready, carefully remove the existing trigger components. Take your time during disassembly because rushing can lead to damage or improper handling. After removal, inspect the internal area and clean it thoroughly. Removing dust or residue helps ensure smooth performance after the assisted reset trigger installation.
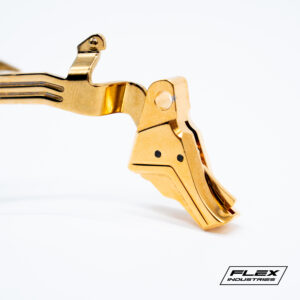
Now, align the assisted reset trigger correctly with the mounting points. Proper alignment is critical because even small positioning errors can affect performance. Gently place the trigger into position without forcing it. If it does not fit easily, recheck the alignment instead of applying pressure during the trigger system installation.
After placement, secure all components according to the manufacturer’s instructions. Avoid over-tightening, as this can impact movement and reduce efficiency. A balanced installation ensures smoother operation and long-term reliability.
Finally, test the system carefully. Start with slow and controlled checks to confirm proper reset and responsiveness. Once everything feels consistent, continue testing under normal use conditions.
Frequently Asked Questions
What is an assisted reset trigger?
An assisted reset trigger is a trigger system designed to speed up reset and improve shooting cadence by using mechanical assistance to return the trigger to its ready position more quickly.
What tools are needed to install an assisted reset trigger?
Common tools include a punch set, small hammer, screwdriver set, needle-nose pliers, and a clean workspace. Some installations may also require manufacturer-specific tools depending on the firearm model.
Is professional installation recommended for assisted reset triggers?
Yes, professional installation is recommended to ensure proper fit, correct alignment, and safe operation. Incorrect installation can affect reliability and overall performance.
What are common mistakes during installation?
Common mistakes include incorrect spring placement, improper alignment of components, over-tightening parts, and failing to follow manufacturer instructions carefully.
How can I ensure safe installation of a trigger system?
Always follow manufacturer guidelines, use the correct tools, work in a clean environment, and double-check all components before reassembly to ensure proper function and safety.
Can improper installation affect trigger performance?
Yes, improper installation can lead to malfunction, inconsistent reset, increased wear, or unsafe operation. Proper installation is critical for reliable performance.
Conclusion
In conclusion, following a proper trigger installation guide, using the right tools, and applying careful technique ensures a smooth assisted reset trigger installation. With attention to detail, you can achieve improved speed, better control, and reliable performance from your trigger system.